Getting Started with MicroPython on NodeMCU ESP8266
About MicroPython
MicroPython is a lean and efficient implementation of the Python 3 programming language that includes a small subset of the Python standard library and is optimised to run on micro-controllers and in constrained environments.
MicroPython is packed full of advanced features such as an interactive prompt, arbitrary precision integers, closures, list comprehension, generators, exception handling and more. Yet it is compact enough to fit and run within just 256k of code space and 16k of RAM.
The ESP8266 chip is a great platform for using MicroPython.
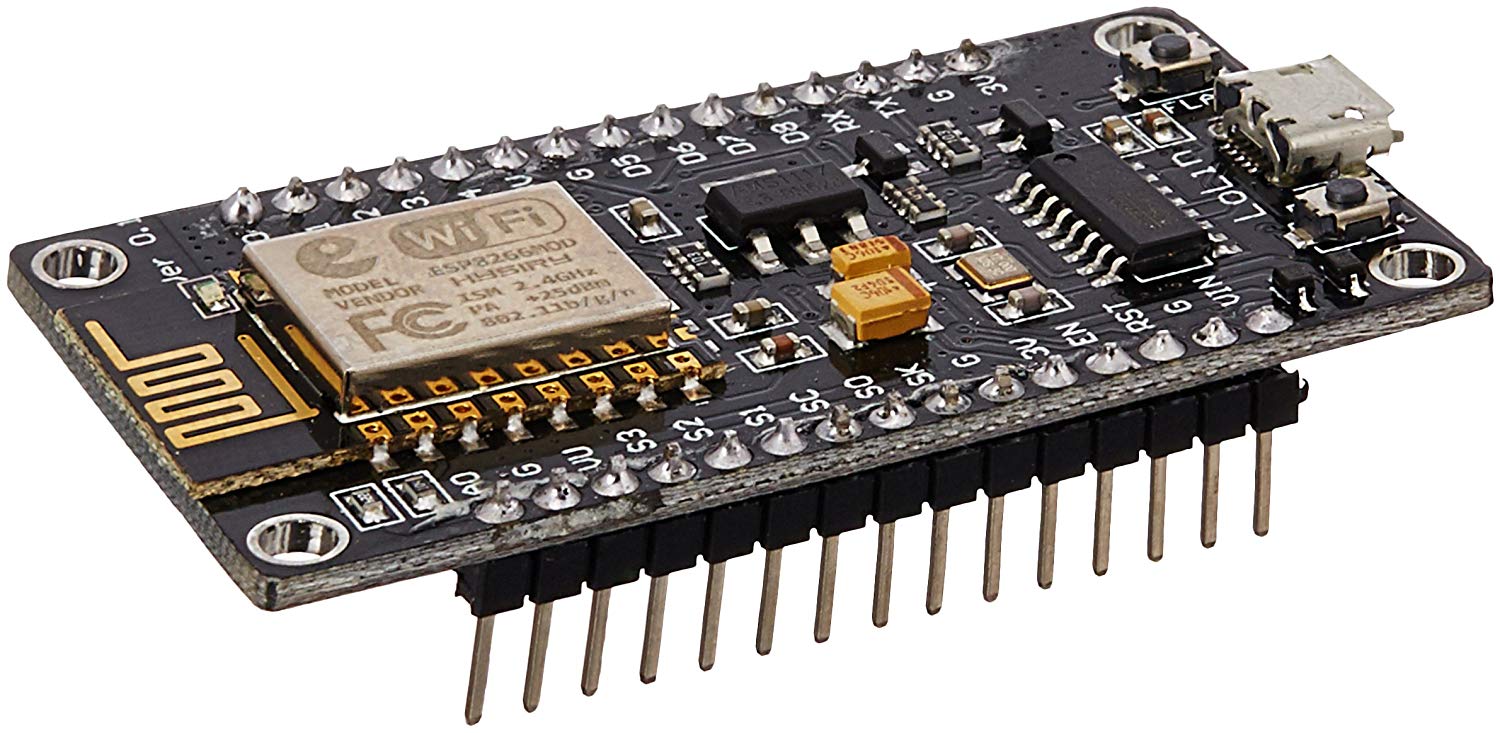
About NodeMCU
NodeMCU is an open source IoT platform. It includes firmware which runs on the ESP8266 Wi-Fi SoC from Espressif Systems, and hardware which is based on the ESP-12 module.
Features of NodeMCU:
- Arduino-like hardware IO: Advanced API for hardware IO, which can dramatically reduce the redundant work for configuring and manipulating hardware. Code like arduino, but interactively.
- Nodejs style network API: Event-driven API for network applications, which facilitates developers writing code and running on a MCU in Nodejs style. This speeds up your IOT application developing process.
- Lowest cost programmable WI-FI: Less than $2 WI-FI MCU ESP8266 integrated and easy to prototyping development kit.
- Wifi networking (can be used as access point and/or station, host a web server), connect to internet to fetch or upload data.
Using NodeMCU on your System
Getting a MicroPython REPL prompt
REPL stands for Read Evaluate Print Loop, and is the name given to the interactive MicroPython prompt that you can access on the ESP8266. Using the REPL is by far the easiest way to test out your code and run commands.
There are two ways to access the REPL: either via a wired connection through the UART serial port, or via WiFi.
REPL over the serial port
To access the prompt over USB-serial you need to use a terminal emulator program.
On Mac you can use the built-in screen program or alternatively you can also install picocom. picocom can be used on Linux too
On MacOS
picocom /dev/tty.SLAB_USBtoUART -b115200
On Linux
picocom /dev/ttyUSB0 -b115200
Once you have made the connection over the serial port you can test if it is working by hitting enter a few times. You should see the Python REPL prompt, indicated by >>>.
Now you are ready to play with the NodeMCU.
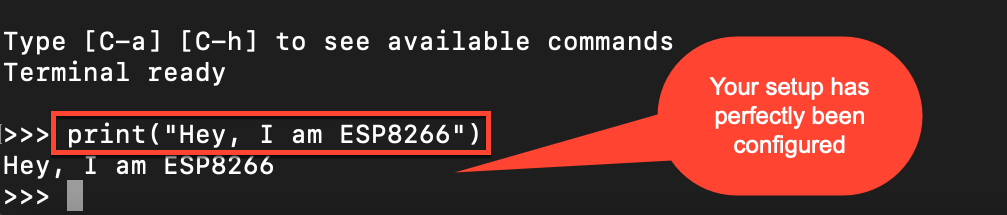
Testing the NodeMCU
In the REPL run these commands :
print("Hey, I am ESP8266")
Quitting the REPL
Ctrl-A + Ctrl-Q
References
The post is also available on the author’s personal website and the Podnet blog.
